
Journal · · 5 min read
How to keep logos, zips and prints right in AI images
AI image tools redraw small product details because they rebuild the whole picture from patterns rather than copying your garment, so logos warp, zips change, and prints get simplified. You keep them right by starting from sharp product photos, telling the tool exactly what must not change, and checking every logo, zip, seam and print against the real product, then fixing anything that drifted by hand in Photoshop.
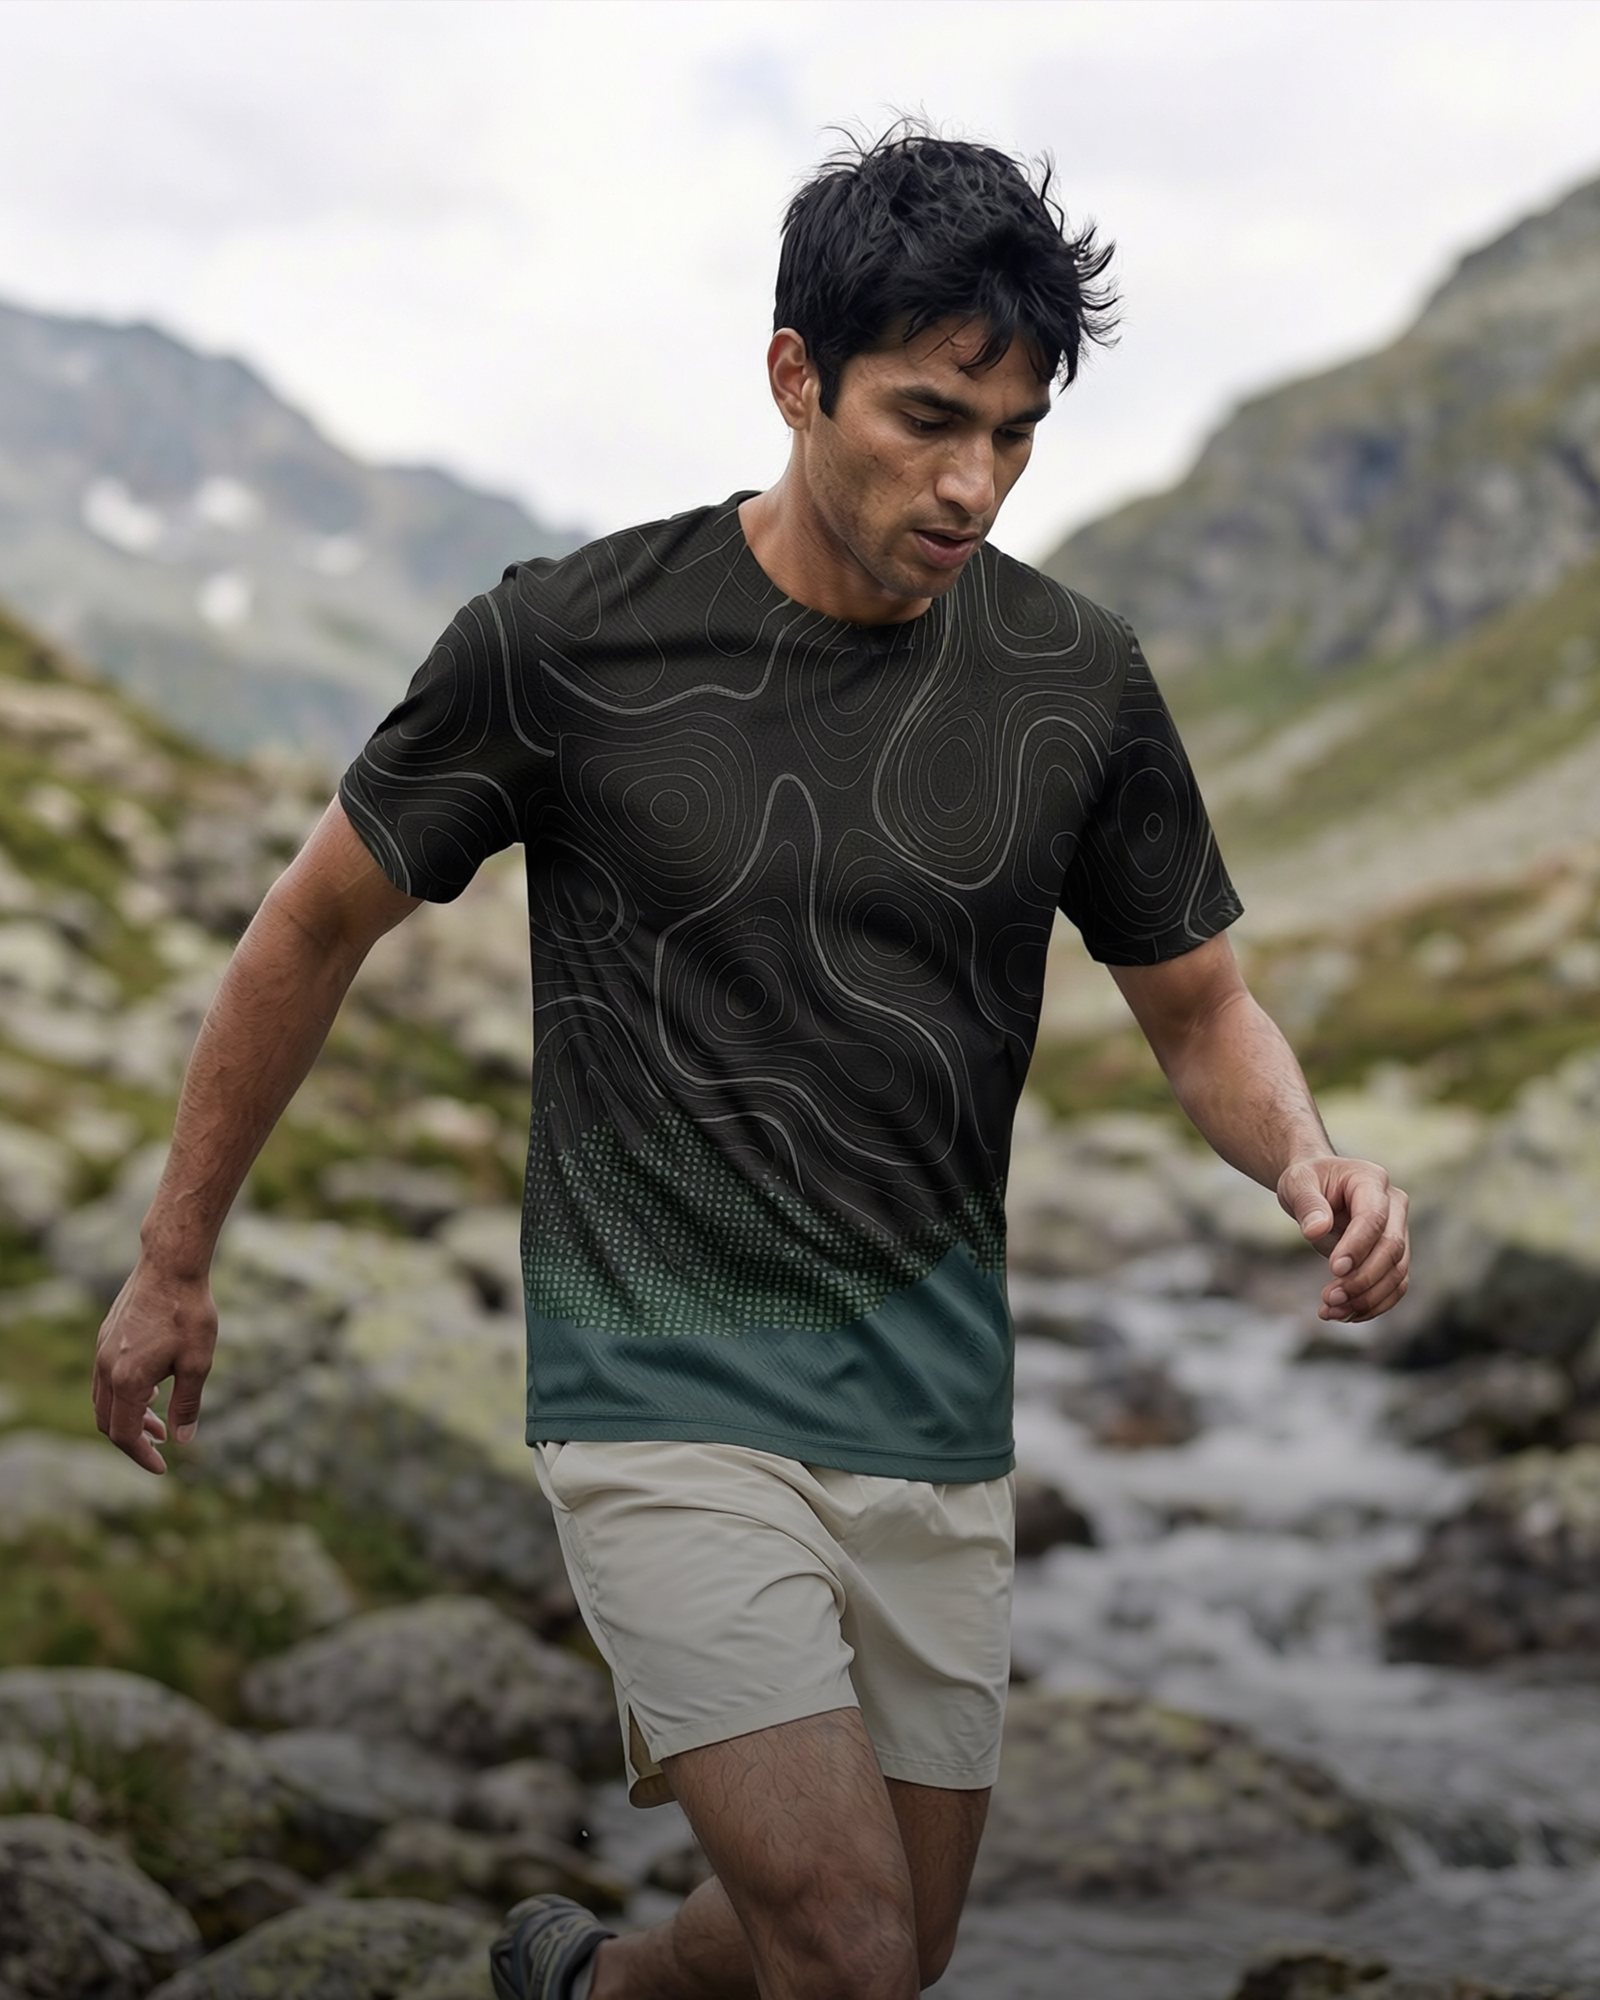
Why does AI change my logo and print?
An image model doesn't paste your product into a scene. It looks at your photo, then generates a new image that resembles it. Large shapes and colours usually survive that process. Small, precise things often don't: the letters in a wordmark, the number of teeth on a zip, the exact curve of a topo line in a print.
The tool makers say as much. Adobe's own known limitations page for Firefly lists text and symbols in generated images as an area that still needs work. A logo is text and symbols. So is a care label, a size tag and a reflective trim with lettering on it. Expect those to be the first things to drift, whatever tool you use.
Which product details go wrong most often?
After checking a lot of apparel images, the same details come up again and again. This is the list I check every frame against.
| Detail | What AI tends to do | What I check |
|---|---|---|
| Logo or wordmark | Warps letters, adds or drops a character, changes the weight or spacing | Spelling, proportions, position on the chest or sleeve, size relative to the garment |
| Zips and pulls | Changes zip length, moves it off centre, invents a second zip, redraws the puller | Zip length and placement, colour of tape and teeth, the shape of the puller |
| Prints and patterns | Simplifies the pattern, repeats it too evenly, changes the scale, shifts colours | Scale of the repeat, colours against the product photo, how the print bends with folds |
| Seams and panels | Moves seam lines, merges panels, loses contrast stitching | Where each panel starts and ends, raglan vs set-in sleeves, stitching colour |
| Trims and hardware | Drops cord locks, toggles, reflective tabs and pockets, or adds ones that aren't there | Every trim on the tech pack is present, and nothing extra appears |
| Colour | Shifts the shade under scene lighting, especially oranges, teals and near-blacks | The colour reads as the same colourway in every frame |
Notice that most of these are not obvious at thumbnail size. That is what makes them dangerous. They slip through a quick review and get noticed later by the person who knows the product best: your customer holding the real thing.
Why does product accuracy matter so much?
Because an ad is a promise about what will arrive. If the image shows a chest zip that the jacket doesn't have, or a print in a brighter orange than the real fabric, the customer opens the parcel and feels misled. Some of them will send it back. Most of them will just trust your next ad a little less.
It also matters for the brand itself. Your logo, your signature print and your trims are the parts people learn to recognise. If the wordmark looks slightly different in every ad, you are teaching people a blurry version of your brand. I wrote about why that recognition matters in one great AI image isn't a campaign.
How do you keep product details accurate?
Most of the work happens before and after generation, not during it.
- Start with sharp product photos. Front, back and close-ups of the logo, zip and any print, in even light. The tool can only keep what it can see clearly.
- Name what must not change. A short list: logo on left chest, centre front zip to the chin, print scale, colourway name. That becomes the checklist for the whole set.
- Choose framing that suits the detail. A tiny chest logo in a wide mountain shot will be redrawn badly. If the logo matters for that frame, get closer or plan to rebuild it.
- Check every frame against the real product. Not against the previous AI image. Errors copy forward if you compare generated images to each other.
- Fix by hand, not by rerolling forever. Rerolling can fix one detail and break another. Once the image is right in pose, light and fit, I correct the remaining details in Photoshop using the original product photos as the source.
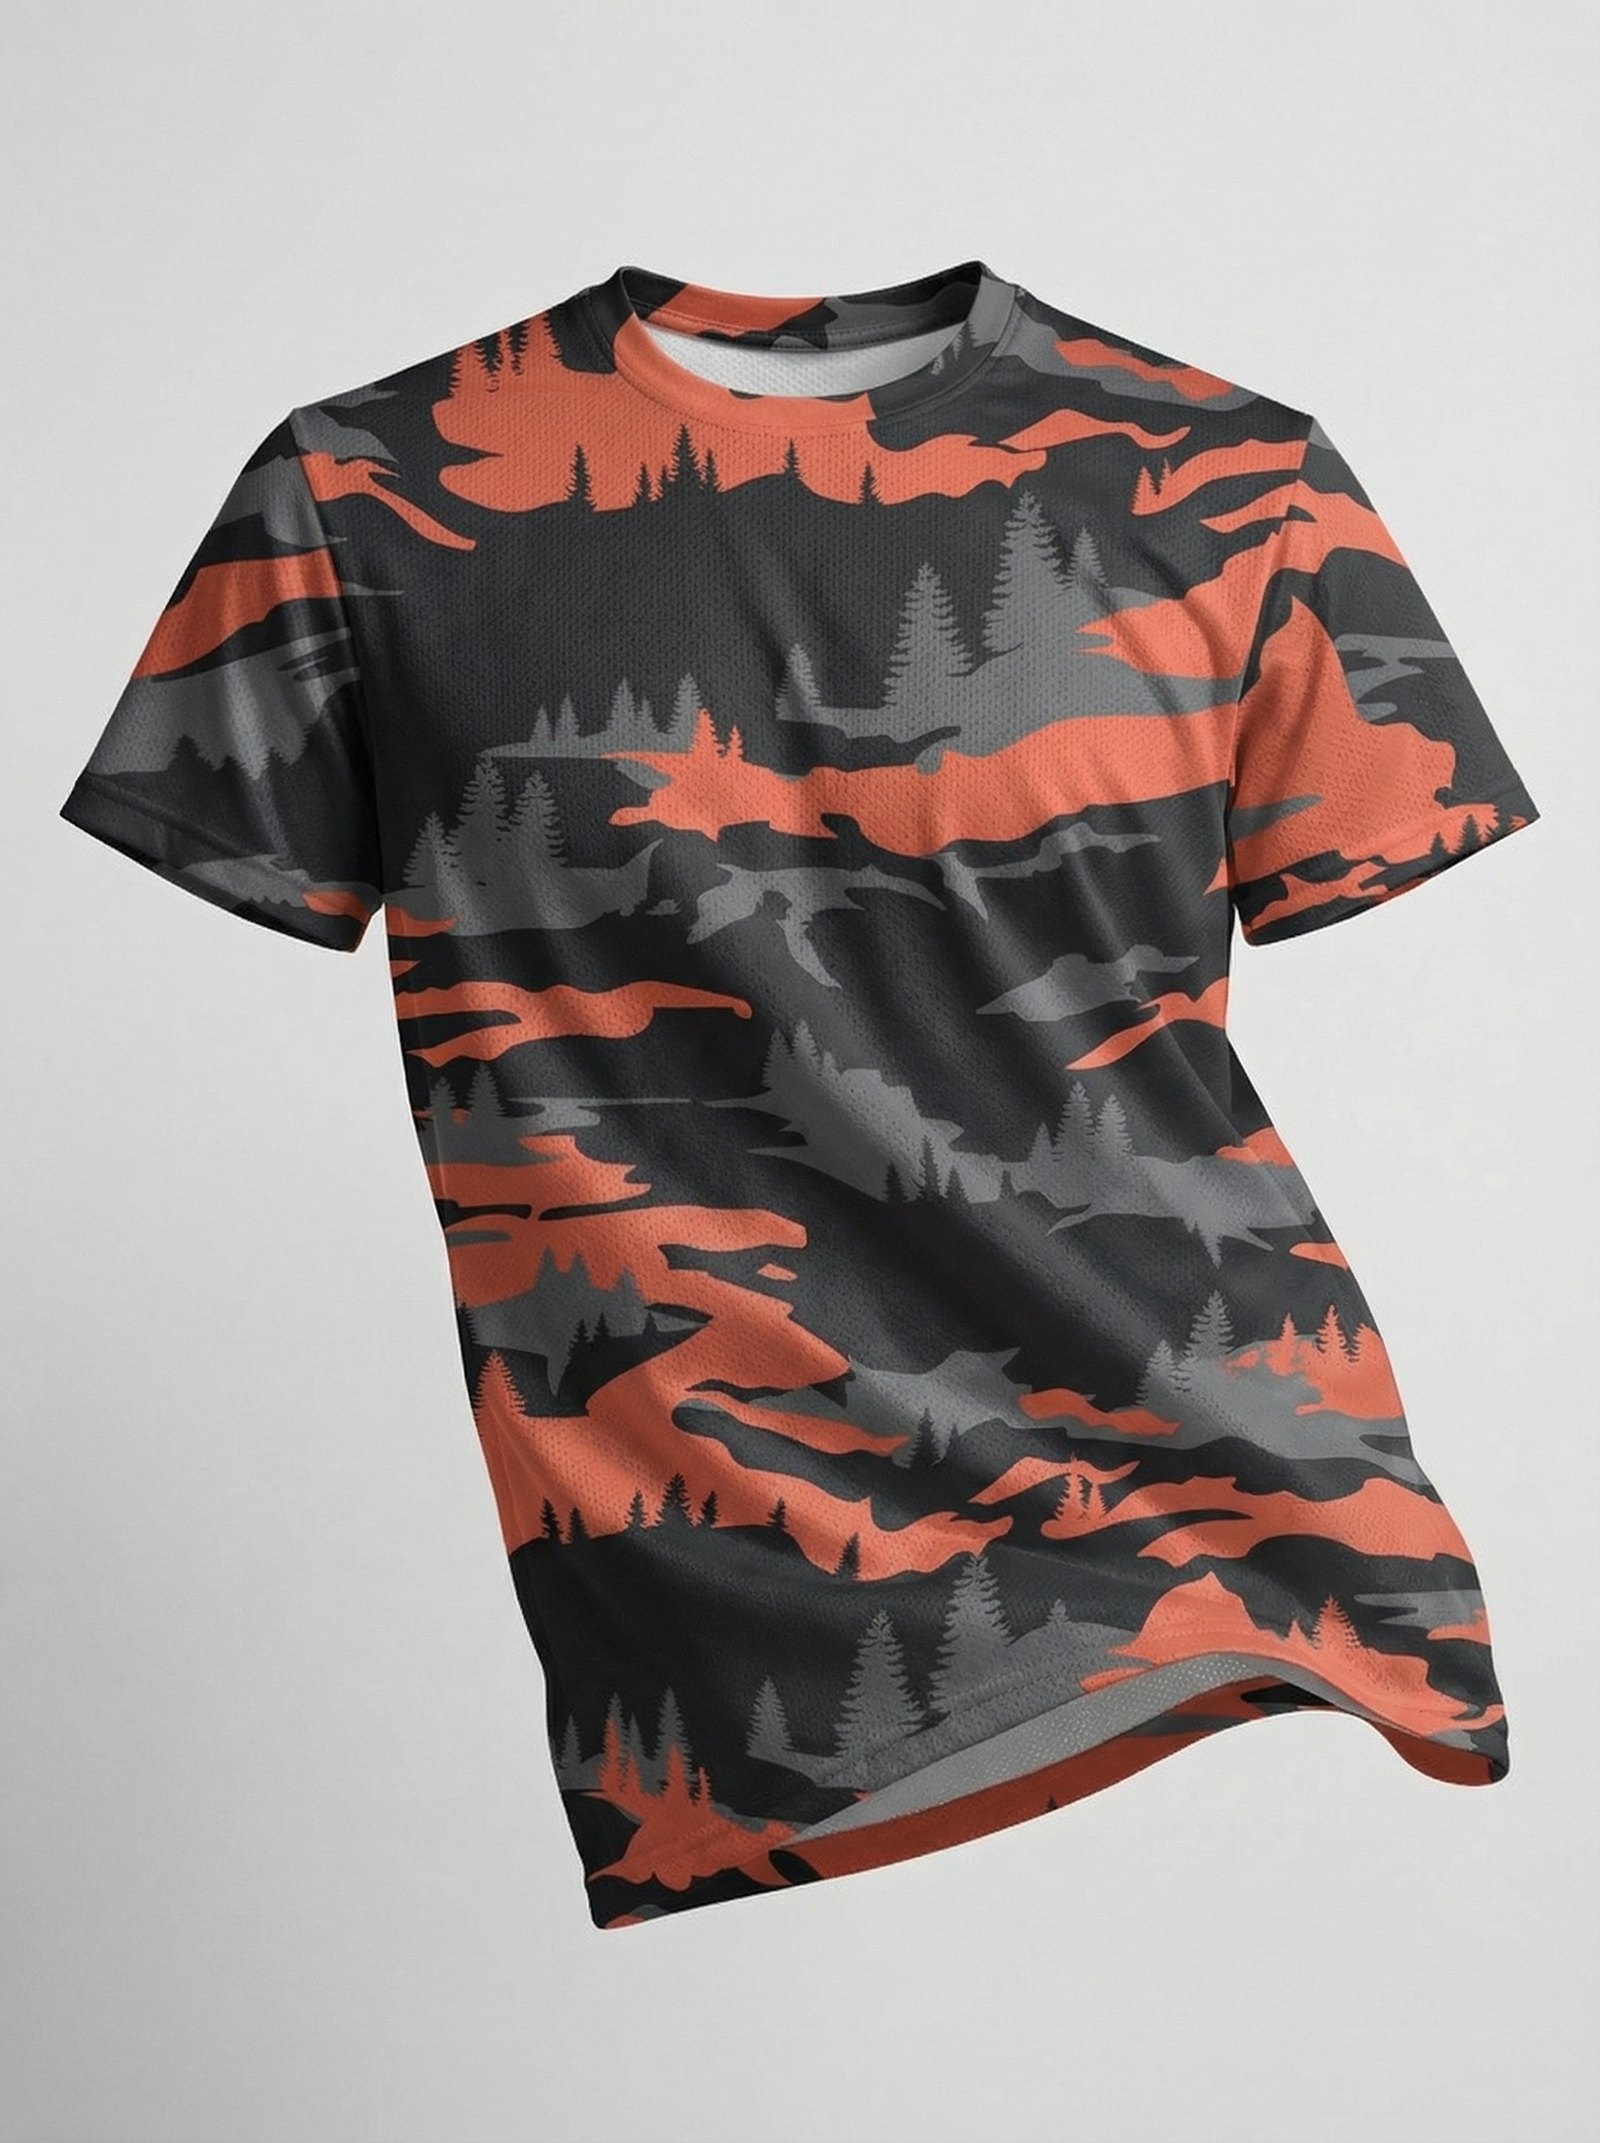
A print like this one is a good test. The pine silhouettes, the spacing between the orange bands and the exact orange are all things a generator likes to tidy up. The product photo is the reference, and every campaign frame is checked back against it.
Is accuracy the same thing as fit?
No, but they work together. Fit is the silhouette: how the garment hangs and moves on a body. Accuracy is the detail: is that the right logo, the right zip, the right print. A frame can have perfect drape and the wrong wordmark, or a perfect logo on a jacket that floats off the shoulders. I covered the first half in why clothes look wrong on the body in AI images. Both need checking before anything runs.
Why I hand-check every detail
I spent more than ten years designing clothing and backpacks for an outdoor apparel brand. I have sat through sample reviews arguing about a zip puller and sent prints back because the green was a shade off. That habit doesn't switch off when the image is made with AI. You can read more about my background here.
So in every set, AI does the production and I do the checking. Every logo, zip, seam and print is compared with your product photos and fixed by hand in Photoshop where it drifted. You can see how that works on the AI product photography page for activewear brands, and what each option includes in the test set and monthly creative.
If you want to see your own logo, zips and prints kept exactly right in a campaign setting, start with a $200 test set: 6 images, one concept, within 3 days.
Quick answers
Why do AI image generators mess up logos?
Because they generate a new image that resembles your product rather than copying it, and small text and symbols are the hardest part to rebuild exactly. Adobe lists text and symbols in generated images as a known limitation of Firefly, and the same problem shows up across tools.
How do I keep my print and logo accurate in AI product images?
Start from sharp front, back and close-up product photos, write down which details must not change, frame shots so small details are visible, check every image against the real product rather than earlier AI images, and correct anything that drifted by hand in Photoshop.
Which product details should I check in AI apparel images?
Logos and wordmarks, zip length and placement, zip pullers, print scale and colour, seam and panel lines, trims like cord locks and reflective tabs, and whether the colourway stays the same in every frame.